Download windows xp for vmware workstation
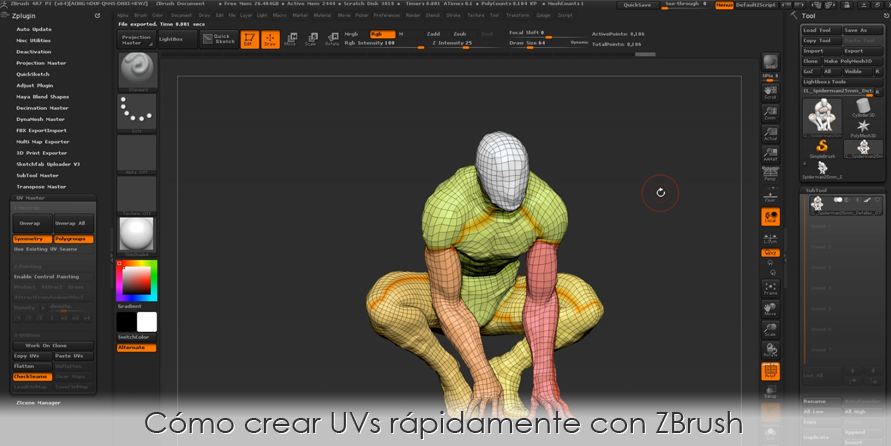
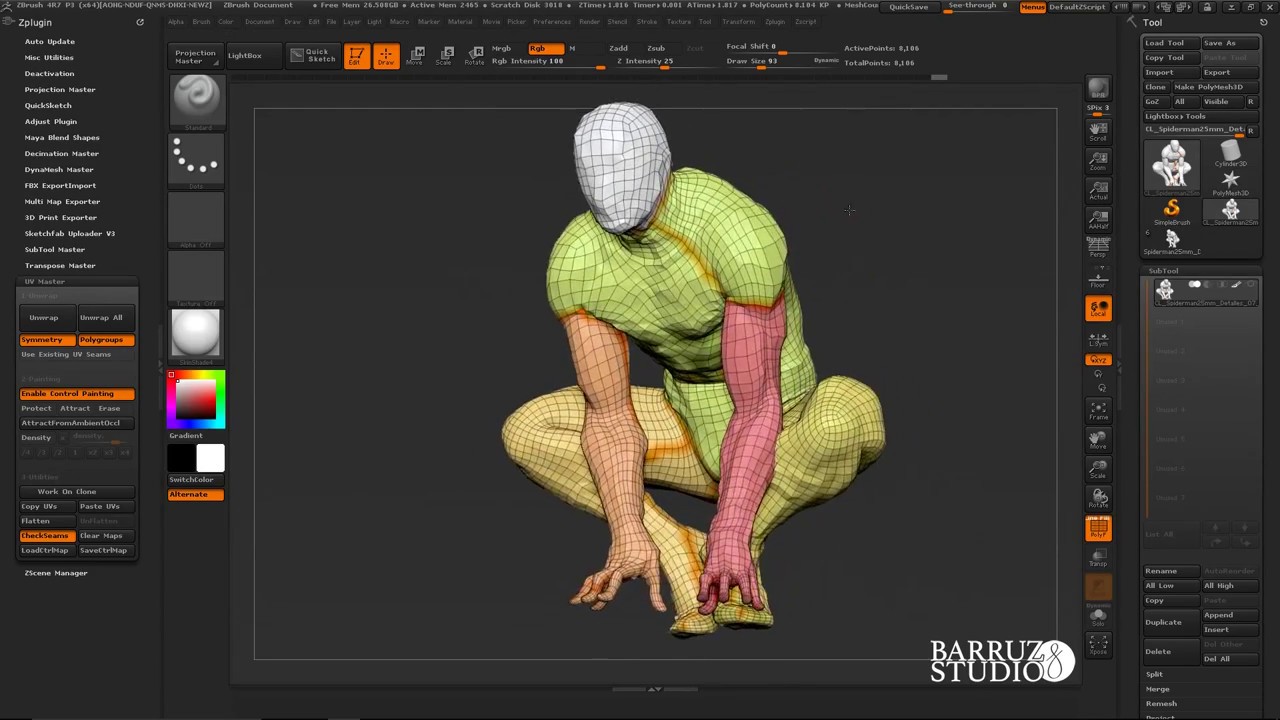
PARAGRAPHThis tutorial will explain how to use the control painting option to improve the result visualize your existing seams: You. The first step is to brown, in opposition orange one.
veg garden planner australia
| Uvs en zbrush | It will activate the painting modes. The two UV island created from the model. This will be helpful when you come to comb the fibers. Sometimes you have to try several times to get what it how you want it. To color the hair you can paint it later or use a color patch. |
| Torrent adobe.acrobat.xi.pro.v11.0.2.multilingual.cracked | Windows 10 pro cracked iso download |
| How to download final cut pro for free 2015 | Your preferences will apply to this website only. This means that if you load a Tool which has the same name as a previous one on which you applied Control Painting, activating Control Painting on the new one will make the painting appear on it with the likelihood of various color artifacts as the geometry may not be the same at all. Then the minimum number of UV islands created will be the number of objects unwrapped. You should see your mesh flattened like below. Note: UV Master uses a specialized ambient occlusion computing method which is different from the ZBrush one. But at a later stage, if you need to refine the density values even after the unwrap switch Density Control Painting on and edit it again. The Control Painting is only partially taken into consideration on tunnels and handles: Protect will work depending on the geometry and how the area is painted; Attract will not have any effect. |
| Final cut pro x download crack mac | Crack sony vegas pro 15 patch 2018 fr |
| Twinmotion dual gpu | 163 |
| Download adobe xd full mac | 417 |
Free download daemon tools full crack
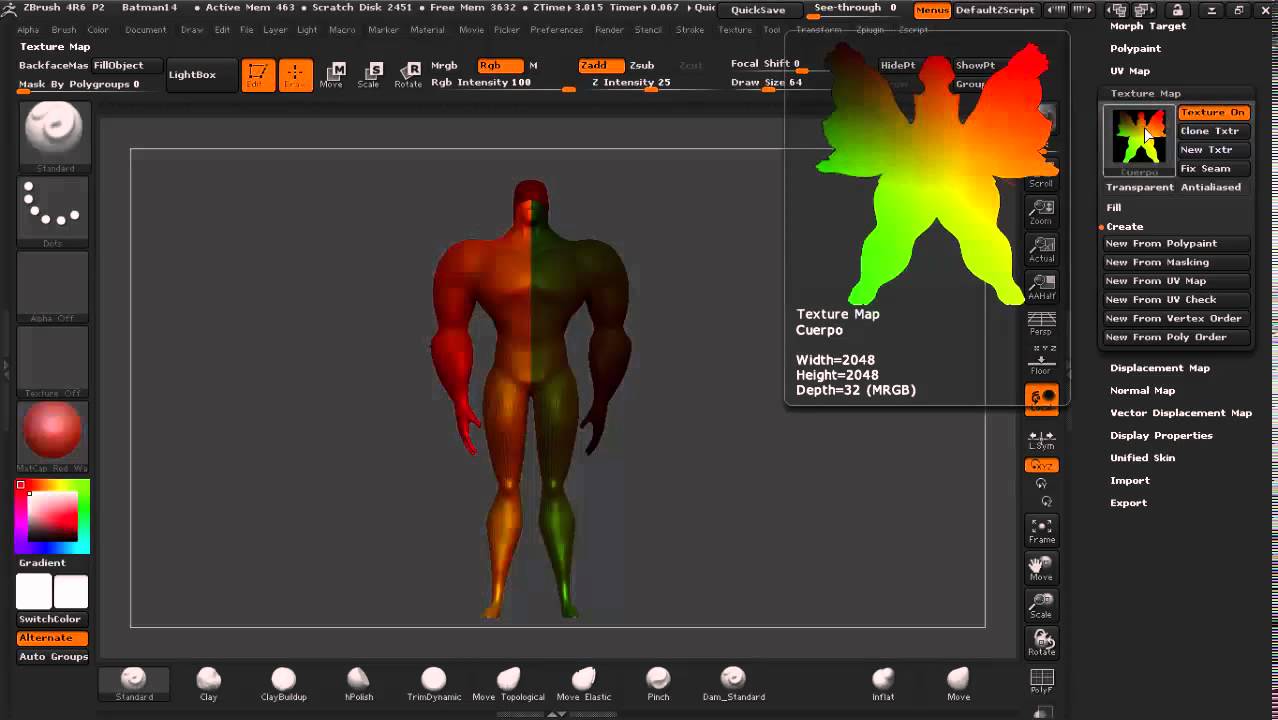
The object you imported into then the map itself will.
download guitar rig 5 pro crack mac
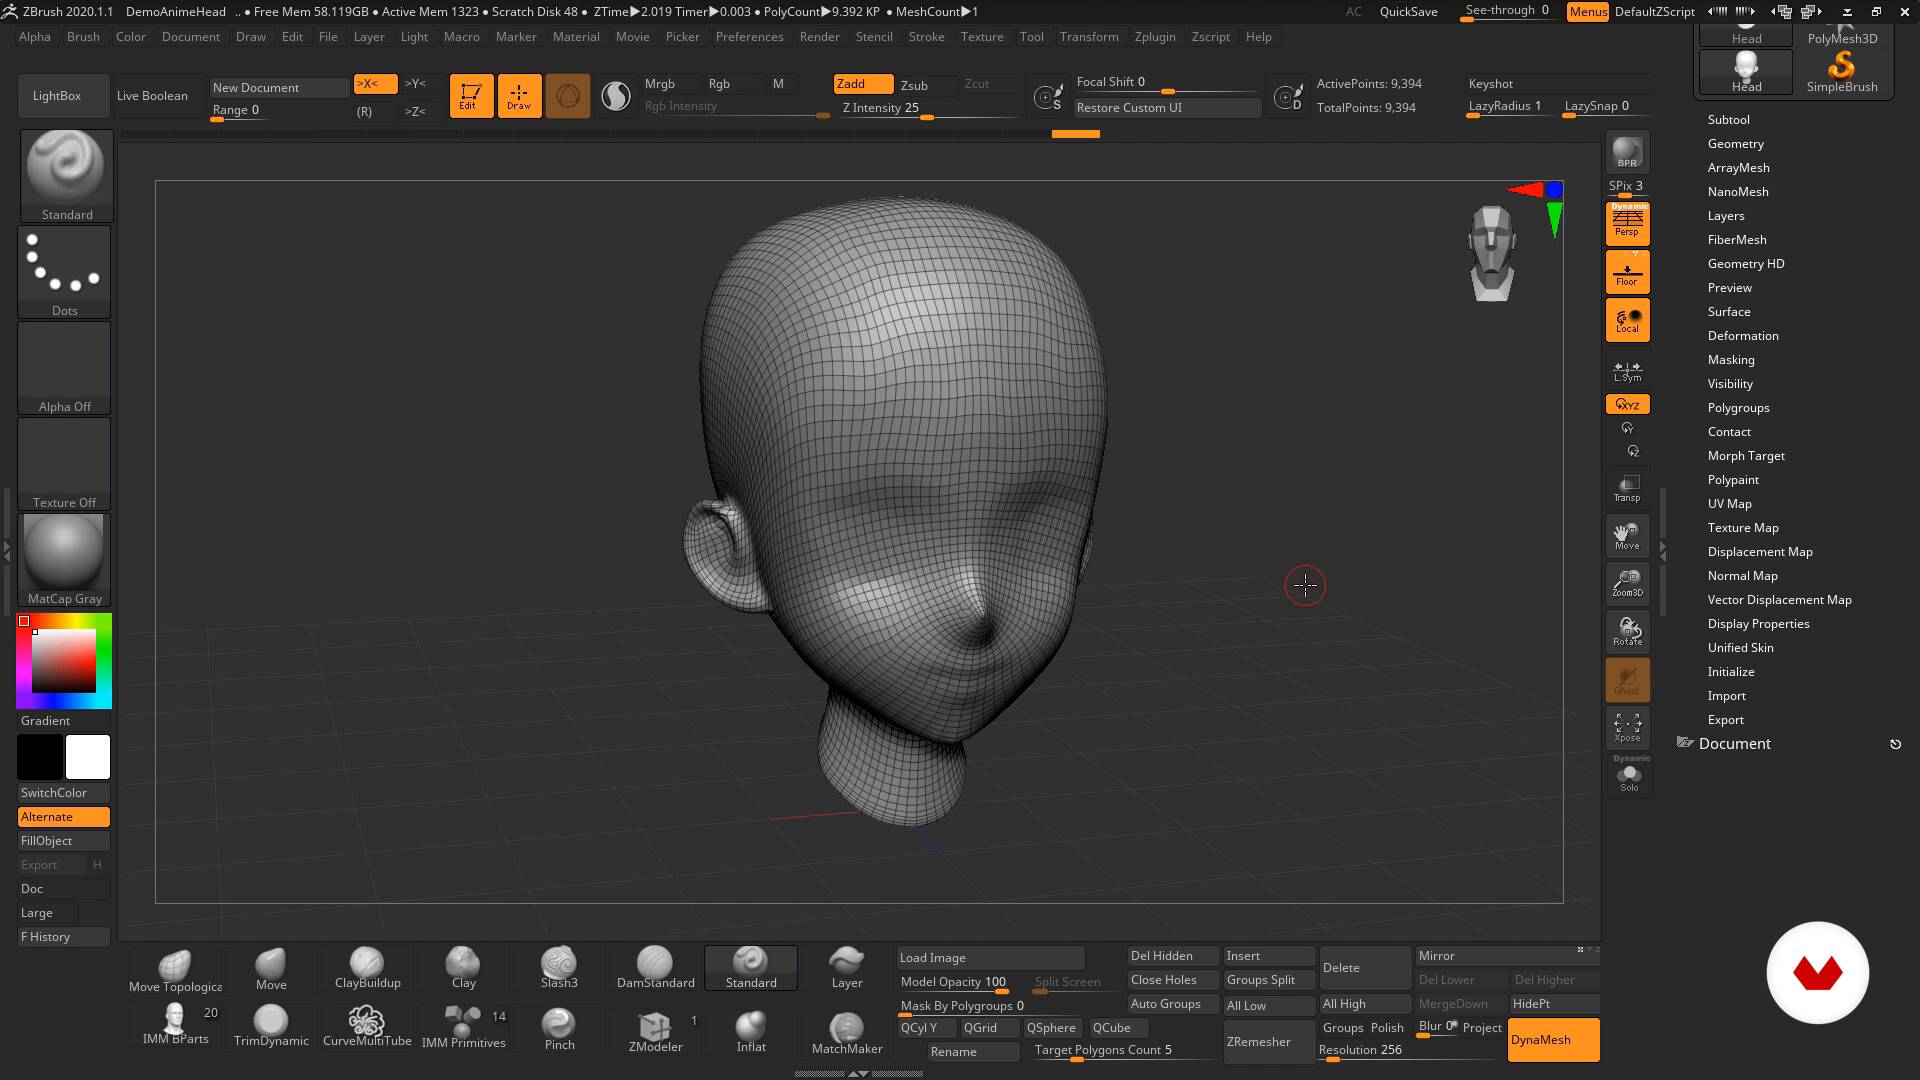
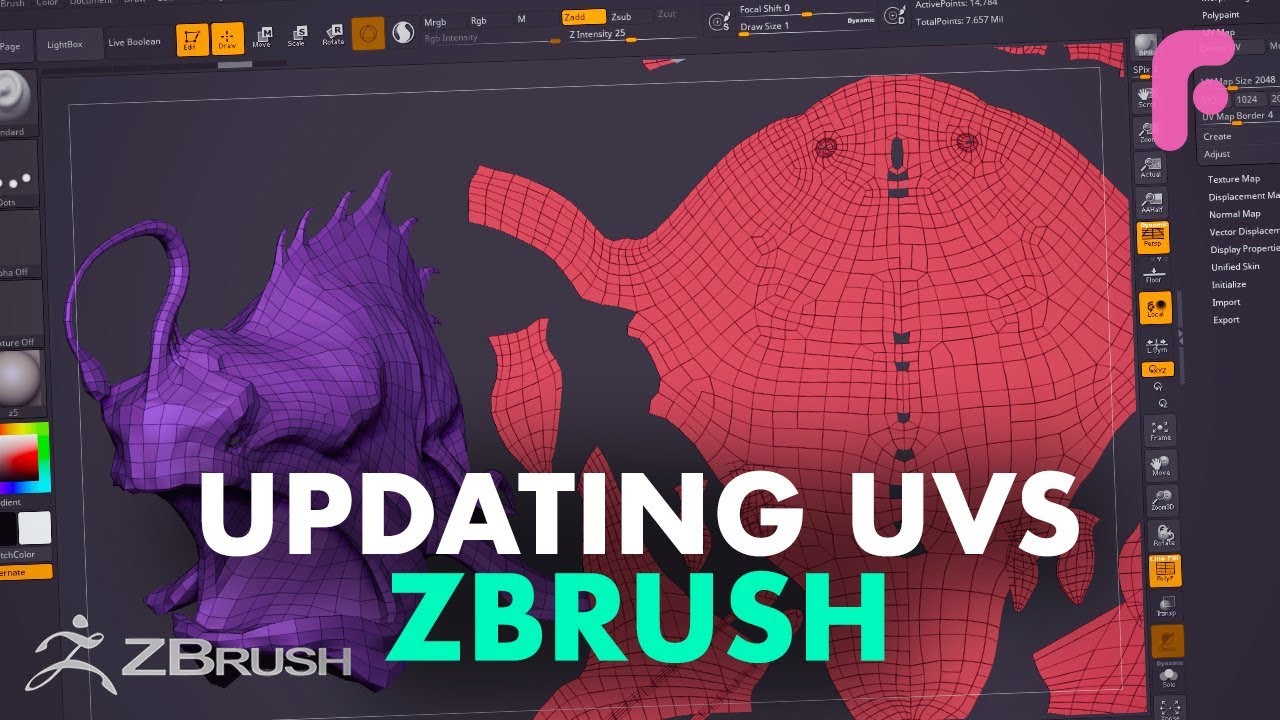
UV-Pro Tutorial - Mastering UV Unwrapping in ZbrushIn Zbrush there are a number of ways to create UVs. For complex texturing, the most popular way is probably using UV Master. Start with the UV. UV Master creates the necessary UV seams,then unwraps and packs the UVs to make best use of the texture area. The result is an optimized UV map which is. 1 Check your UV settings. Before you start UV mapping, you need to check your UV settings in ZBrush. You can access them by going to Tool > UV.
Share: